
Our step-by-step guide on the way to pack a hamper has all the ideas you’ll get to ensure your gift looks beautiful and arrives safely. Find the right container in our range of empty hampers and baskets which include traditional lidded baskets also as a spread of trays and boxes.
1: Add a skinny layer of loose packaging chips or bubble wrap at the very bottom of your basket. (If you’re packing a present tray, skip to step 4!)
2: Add heavier items like wine and jars of jam at the rock bottom of your basket. we might advise wrapping these in bubble wrap to make sure they don’t hit one another, it also avoids them crushing lighter products and means they’re going to be safely surrounded by many padding.
Click for an Awesome Hamper Company in the UK.
3. Once all of the heavy items are added, forgot your favorite products to feature to the highest layer of your hamper. you’ll then arrange the remaining products and add a little more loose packaging to fill any gaps. If you’ve got a really large hamper you’ll need to pack multiple layers, adding a touch packaging in between all.
4. to start out on your final layer or if you’re packing a present tray, lightly crumple tissue or shredded paper to hide the basket. This provides a bright and attractive background for your final products to be presented. Choose a color tissue or shredded paper that compliments your color scheme.
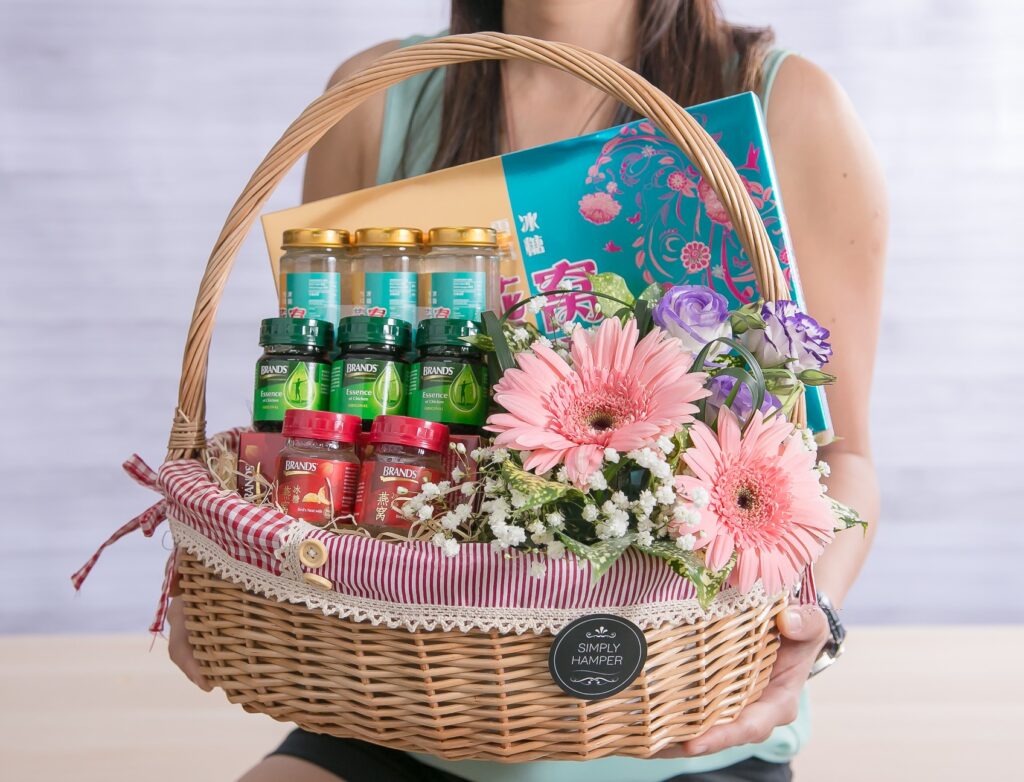
5. Now you’ll arrange your chosen products on your top layer. this is often the primary thing your recipient will see once they open the basket so choose maximum impact with fun, colorful products.
6. Add the finishing touches to your basket with bows, ribbon, or gift tags then package it up for transit. Choose a well-fitting cardboard box if you’re posting your hamper, ensuring there isn’t space for it to rattle around. If you’re hand-delivering your hamper a cardboard box might not be necessary.
Homemade gift baskets are always welcome because they include thoughtfully selected sort of items that the recipient will enjoy. Although the things are commonly collected during a basket, a special container could also be more appropriate, like a bucket for gardening tools or a pot for kitchen supplies. one of the foremost challenging aspects of creating a present basket is arranging all the things and keeping them in situ in order that they look appealing. a couple of simple techniques hold the basket’s contents together.
Step 1
Line rock bottom of the gift basket with a minimum of a couple of inches of raffia. This material provides a cushion and helps you prop the gift items at the right angles within the basket.
Step 2
Tie sets of things alongside ribbon. for instance, if you’re including a couple of writing utensils during a gift basket, a ribbon will keep them collected.
Step 3
Place the most important items at the rear of the gift basket, leaning them against the rear edge for support.
Step 4
Stuff raffia in between the primary few gift items and round the front of the things, surrounding the bottom of every one.
Step 5
Arrange the most important remaining items within the gift basket during a row ahead of the primary few items. Repeat the method of surrounding the bottom of every item with raffia to carry it steady.
Step 6
Place the rest of the things within the space left within the gift basket. If needed, fill within the base of the basket with more raffia therefore the small items within the front are high enough to be visible.
Step 7
Apply a dab of low-melt hot glue between items that you simply are afraid won’t stay in situ. Only do that if the glue won’t damage the gifts. If the gift is in a box or wrapped with plastic, glue should be fine.
Step 8
Place the gift basket within the center of an outsized square of cellophane.
Step 9
Gather the cellophane together above the gift basket, and tie it alongside the ribbon.
Step 10
Heat the cellophane with a hand blower on the low-heat setting, starting at the rock bottom of the gift basket and dealing your high toward the ribbon. The cellophane should shrink so it wraps tightly against the things within the basket and provides further support in order that they stay in situ.
Click to order the best Sweet Cones